How to Paint a Room (Exterior, Kitchen, and Cabinet Painting)
Painting is the highest-impact DIY upgrade there is. A guide to painting a room the right way, plus tips for exterior, kitchen, and cabinet projects.
How to Paint a Room: Exterior, Kitchen, and Cabinet Painting Tips
Paint is the single highest-impact, lowest-cost way to transform a home, which is why it's the most popular DIY project of all. But the difference between an amateur result and a professional-looking finish comes down almost entirely to preparation and technique, not talent. Whether you're refreshing a bedroom, tackling the exterior, brightening a kitchen, or updating cabinets, the same core principles apply, with a few important adjustments for each surface.
Prep the Room Before You Open the Can
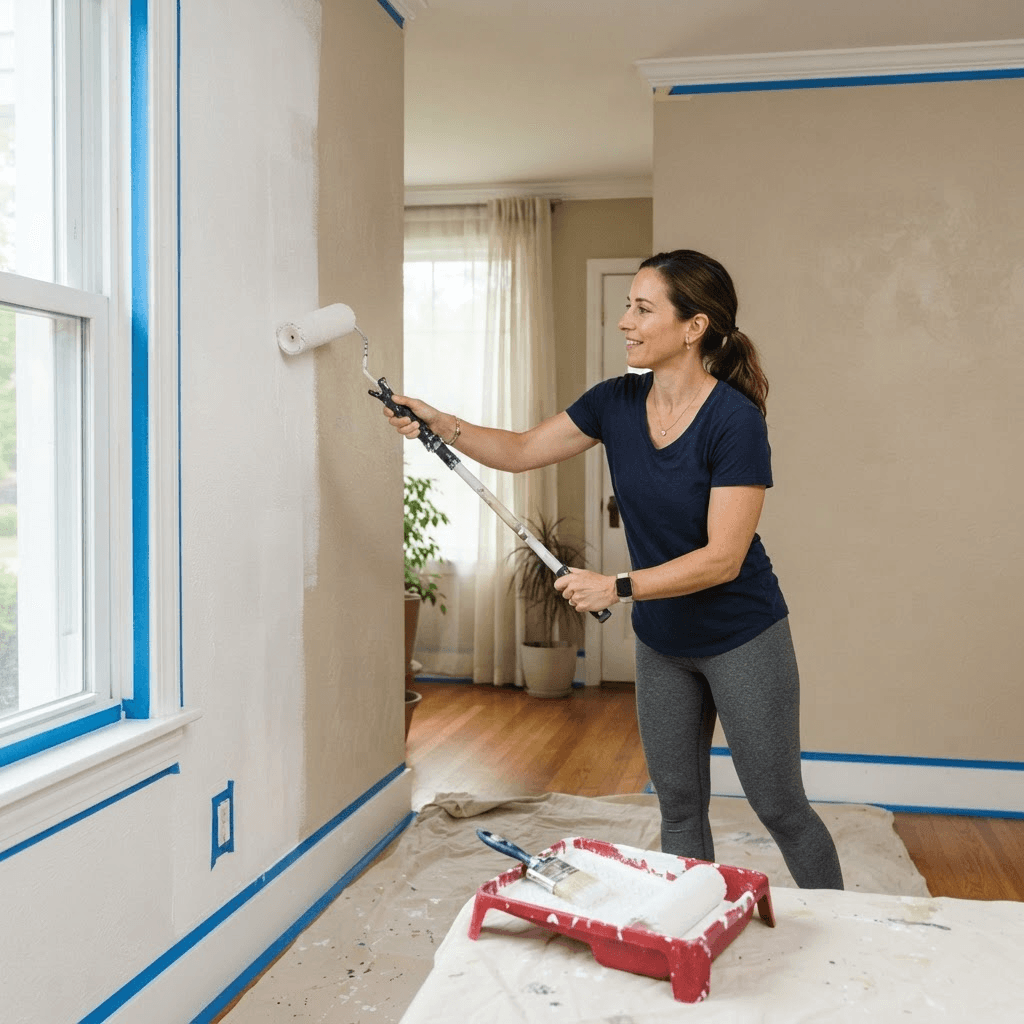
Painting a room starts long before you open the can:
- Clear or cover furniture, and lay down drop cloths.
- Remove outlet covers and switch plates.
- Clean the walls to remove dust and grease.
- Fill any holes or dents with spackle, and sand them smooth.
- Tape off trim, ceilings, and edges for crisp lines.
- Prime any patched spots or drastic color changes.
This prep is tedious but it is what separates a clean job from a streaky, peeling one, so never rush it.
How to Paint: Technique and Order
For the painting itself, work in the right order and keep a wet edge:
- Cut in first, using a brush to paint the edges and corners where a roller can't reach.
- Roll the large areas while the cut-in paint is still workable so the two blend seamlessly.
- Roll in a W or M pattern and fill it in for even coverage.
- Roll into the still-wet paint from your previous pass, rather than letting sections dry and overlapping them, which causes visible lines.
- Apply two thin coats instead of one thick one, letting the first dry fully.
Use quality paint and rollers, they genuinely make a difference.
How to Paint a House Exterior
Exterior painting follows the same logic but demands more prep and weather awareness:
- Wash the surface thoroughly, a pressure washer helps.
- Scrape and sand any peeling or flaking paint.
- Repair damaged wood, and prime bare spots, since exterior surfaces take far more abuse from sun, rain, and temperature swings.
- Use paint specifically formulated for exterior use and the material you're painting.
- Time your project for mild, dry weather, avoiding direct hot sun, rain, and extreme temperatures, so the paint cures properly.
Work top to bottom and give yourself enough dry days for multiple coats.
How to Paint a Kitchen
Kitchen painting has its own considerations because of moisture, grease, and heavy use:
- Clean walls especially well to cut through cooking grease, since paint won't adhere over a greasy film.
- Use a durable, washable, moisture-resistant finish, like satin, semi-gloss, or a kitchen-and-bath formula that stands up to scrubbing and humidity.
- Avoid flat paint, which looks nice but is hard to clean in a kitchen, lean toward a finish with some sheen.
- Ventilate well while you paint to help it dry and clear fumes in this often smaller, enclosed space.
How to Paint Cabinets
Cabinet painting is the most detail-intensive project and the one where prep matters most, but it can make an old kitchen look brand new for a fraction of a remodel:
- Remove doors, drawers, and hardware and label them.
- Clean everything thoroughly to remove grease.
- Sand all surfaces so the new finish can grip, this step is non-negotiable for cabinets.
- Apply a high-adhesion bonding primer.
- Use a durable cabinet or enamel paint, applied in thin, even coats with a fine brush, foam roller, or sprayer, letting each coat cure fully.
- Reassemble only once the paint has hardened.
Patience and thin coats are everything here.
The Bottom Line
Master the prep-and-technique fundamentals, adjust for each surface, and painting becomes the most rewarding upgrade in your home improvement toolkit.
For the prep and repair work that determines how a finish holds up, browse our painting project guides.
Frequently Asked Questions
How do I prep a room before painting? Clear or cover furniture, clean the walls of dust and grease, patch holes and sand them smooth, tape off trim and edges, and lay down drop cloths. Priming bare patches, stains, or drastic color changes ensures even coverage. Good prep is the single biggest factor in a professional-looking finish.
How many coats of paint do I need? Two coats is the standard for a durable, even finish, especially over a color change or on new drywall. A single coat may look patchy and wear faster. Using quality paint and a matching primer can occasionally reduce the number of coats, but plan for two to be safe.
What kind of paint should I use in a kitchen or bathroom? Choose a washable finish like satin, semi-gloss, or a specialty moisture-resistant paint in rooms with humidity, grease, or frequent cleaning. These finishes resist stains and wipe clean easily, unlike flat paint, which absorbs moisture and marks. Cabinets need a hard-wearing enamel designed to resist chips and handling.
Can I paint cabinets without sanding? You can improve adhesion dramatically with a bonding primer that reduces the need for heavy sanding, but at least a light scuff and thorough cleaning are still recommended. Skipping surface prep entirely usually leads to peeling. For cabinets, degrease, lightly sand, prime, and use a durable enamel for a finish that lasts.