Patio Door Installation Guide (Exterior Door Installation)
A step-by-step guide to installing a patio door or exterior door, from measuring and prepping the opening to leveling, fastening, and sealing for a weathertight fit.
Patio Door Installation Guide: How to Install an Exterior Door
Installing a patio door, or any exterior door, is one of the more ambitious DIY home improvement projects, but a rewarding one that instantly upgrades a home's light, access, and curb appeal. The stakes are higher than with an interior door because an exterior door has to keep out water, air, and intruders, so precision and proper weatherproofing matter enormously. Whether you're putting in a sliding glass door, a French patio door, or a standard entry door, the same fundamental process and principles apply.
Step 1: Measure Accurately and Choose the Right Door
Start with accurate measurement and the right door, because everything downstream depends on it. Measure your existing door or rough opening carefully, width and height at multiple points, taking the smallest measurements, and account for the frame, since a pre-hung exterior door comes as a complete unit with the door, frame, threshold, and weatherstripping.
Order a door sized for your rough opening, the framed hole in the wall, which must be slightly larger than the door unit to allow for shimming and leveling. Buying a pre-hung unit is far easier than trying to fit a slab door into an existing frame.
Step 2: Prepare the Rough Opening
Next, prepare the opening, which is where a weathertight installation is won or lost.
- Remove the old door and frame carefully.
- Inspect the rough opening for any rot or water damage and repair it before proceeding, since installing a new door over damaged framing invites future problems.
- Clean the opening, and make sure the subfloor and sill area are sound and level.
- Install flashing and a sill pan at the bottom of the opening.
This flashing directs any water that gets behind the door back to the outside, and skipping it is the most common cause of leaks and rot down the road.
Step 3: Set and Level the Door
With the opening prepped, set and level the door, the most exacting part of the job:
- Apply a bead of exterior sealant along the sill.
- Set the door unit into the opening from the outside and press it into place.
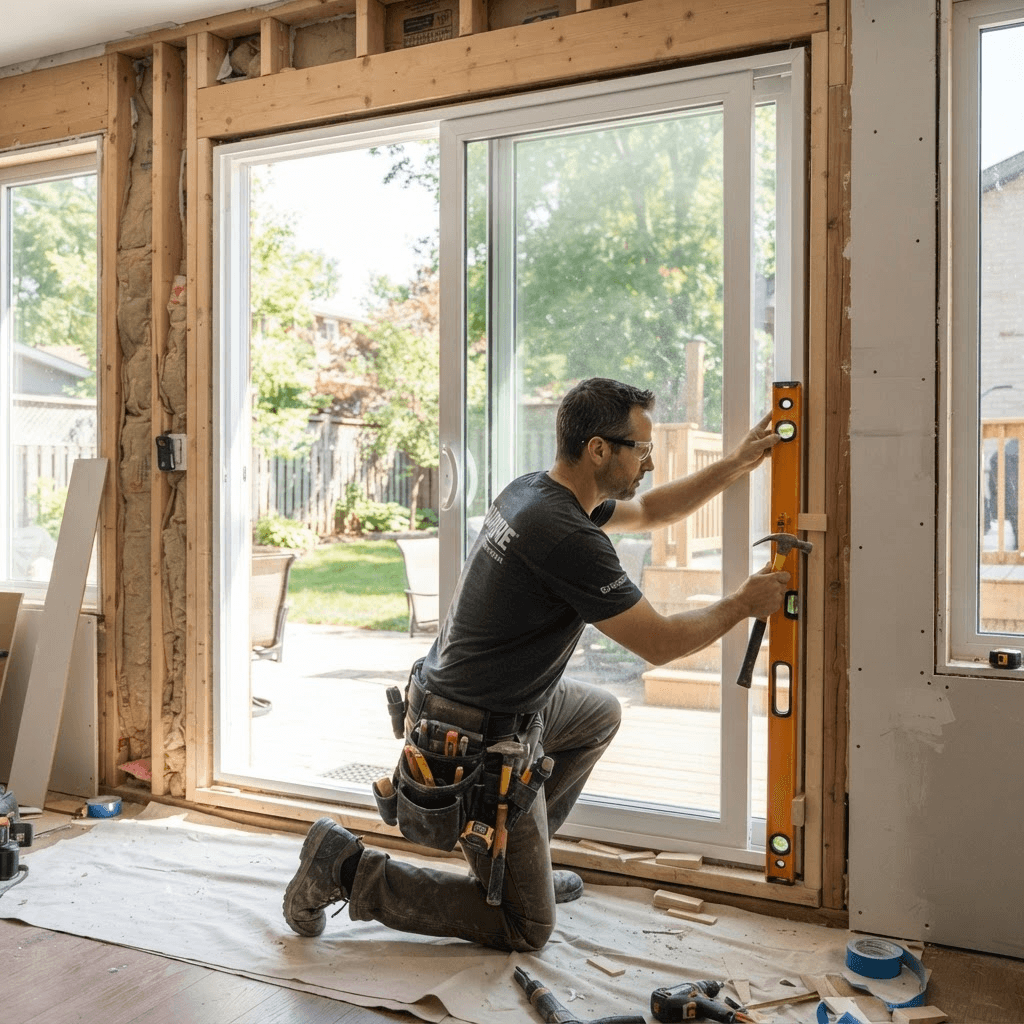
- Level and plumb it meticulously: use a level to check that the unit is perfectly vertical and square.
- Insert shims behind the frame at the hinges and along the sides to hold it true.
A door that isn't level and square will bind, swing open or shut on its own, gap unevenly, and never seal properly, so take your time here and check repeatedly as you fasten.
Step 4: Fasten the Door Securely
Once the door is confirmed level, plumb, and square, and operates smoothly, fasten it securely. Drive screws or nails through the frame and shims into the framing studs, following the manufacturer's instructions for fastener placement, and be careful not to over-drive and bow the frame.
For heavier sliding patio doors, make sure the track and rollers are properly supported and adjusted so the door glides freely. Open and close the door several times as you fasten to confirm it still operates perfectly and the gaps stay even all around.
Step 5: Seal and Insulate for a Weathertight Fit
Finally, seal and insulate to lock in performance:
- Apply low-expansion spray foam in the gaps between the door frame and the rough opening. Use low-expansion foam specifically, since standard foam can expand enough to bow the frame.
- Run exterior-grade caulk around the outside perimeter where the trim meets the siding to keep water out.
- Install or adjust the weatherstripping and threshold sweep so the door seals tight when closed.
- Add the trim and hardware, and test everything once more.
The Bottom Line
Done right, with careful measuring, a repaired and flashed opening, a meticulously leveled door, and thorough sealing, your new patio or exterior door will be beautiful, secure, and weathertight for decades.
If you have other openings on the list, our door installation walkthroughs cover interior, patio, and entry doors.
Frequently Asked Questions
How long does it take to install a patio door? A straightforward replacement into an existing, sound opening typically takes a few hours to most of a day. If the framing needs repair, the opening must be resized, or the old door was poorly installed, the job can stretch longer. Proper flashing, leveling, and sealing are what take the most care and time.
What is the difference between a sliding and a French patio door? Sliding patio doors glide along a track and take up no swing space, making them ideal for tight areas and modern looks. French patio doors swing open on hinges for a wide, elegant opening and a more traditional feel but need clearance to swing. Both can be energy efficient; the choice comes down to space, style, and how you want the door to operate.
Do I need a professional to install an exterior door? Exterior doors are harder than interior doors because they must be weathertight, secure, and precisely level and plumb. A poorly installed exterior door leaks air and water, sticks, or fails to lock properly. Unless you have carpentry experience and the right tools, hiring a professional is usually worth it for exterior and patio doors.
How do I make a patio door more energy efficient? Choose a door with insulated glass (double or triple pane), Low-E coatings, and a good weatherstripping and threshold system. Proper installation with quality flashing and sealing around the frame matters just as much as the door itself, since most drafts come from gaps around a poorly sealed unit.