How to Install Astroturf
A step-by-step DIY guide to installing artificial turf, from excavating and building the base to seaming, securing, and brushing in infill
How to Install Astroturf
Artificial turf, often called astroturf, has come a long way from the plastic carpet of old stadiums. Today's synthetic grass looks and feels remarkably realistic while eliminating mowing, watering, and fertilizing entirely. Installing it yourself is a demanding but very achievable weekend project, and the single biggest factor in a professional result is the work you do before the turf ever comes out of the roll: the base.
Remove the Existing Lawn or Surface
Start by removing the existing lawn or surface. Dig out the top three to four inches of grass and soil across the area, clearing roots and debris as you go, because any organic material left behind will decompose and create dips over time.
If you have gophers or moles, this is the moment to lay a barrier. Also plan for drainage now, ensuring the ground slopes slightly away from your house so water runs off rather than pooling under the turf.
Build the Base
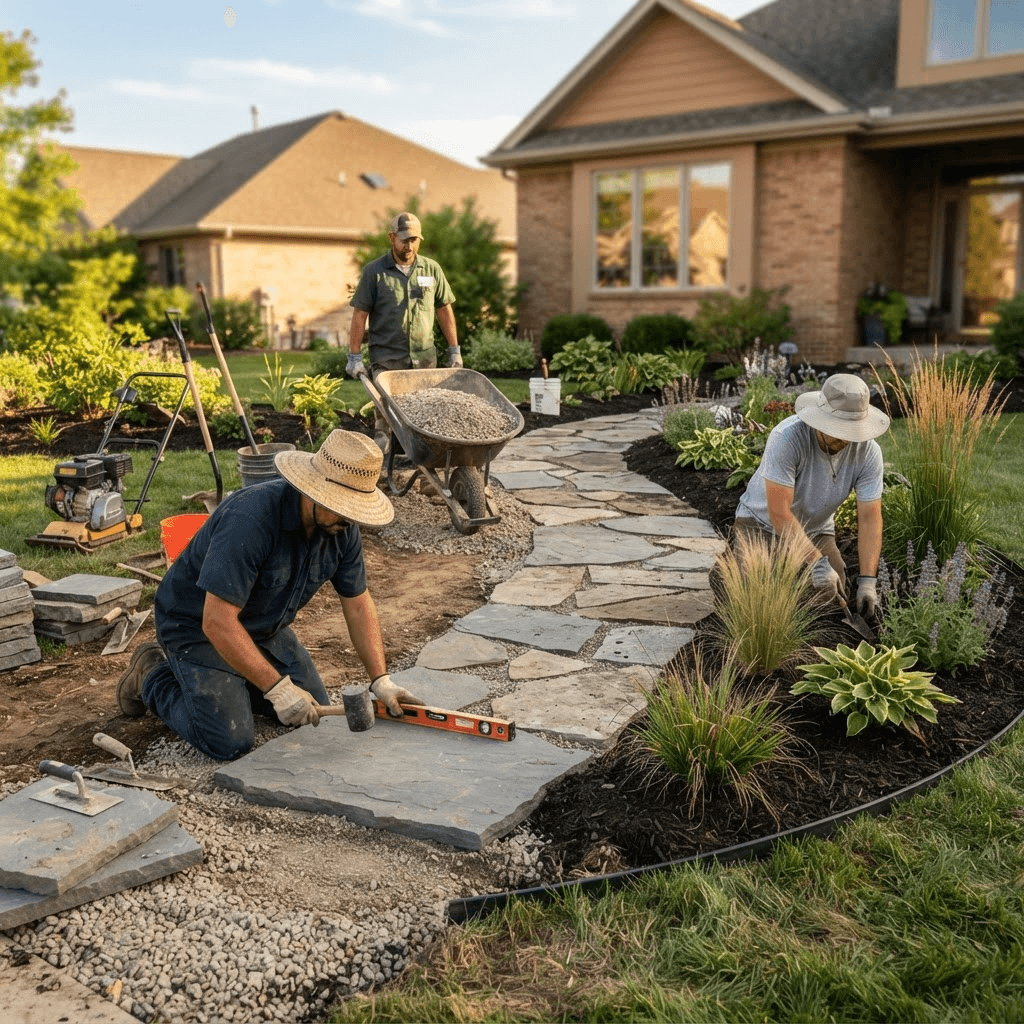
With the area excavated, build the base, the foundation that determines how the turf looks and drains for years. Fill the space with three to four inches of crushed rock or decomposed granite, which allows water to drain through while providing a stable footing.
Spread it evenly, then compact it thoroughly with a plate compactor, wetting it lightly as you go to help it lock together. The finished base should be firm, smooth, and graded for drainage — take your time here, because every imperfection will telegraph through the turf.
Lay Down Weed Barrier and Turf
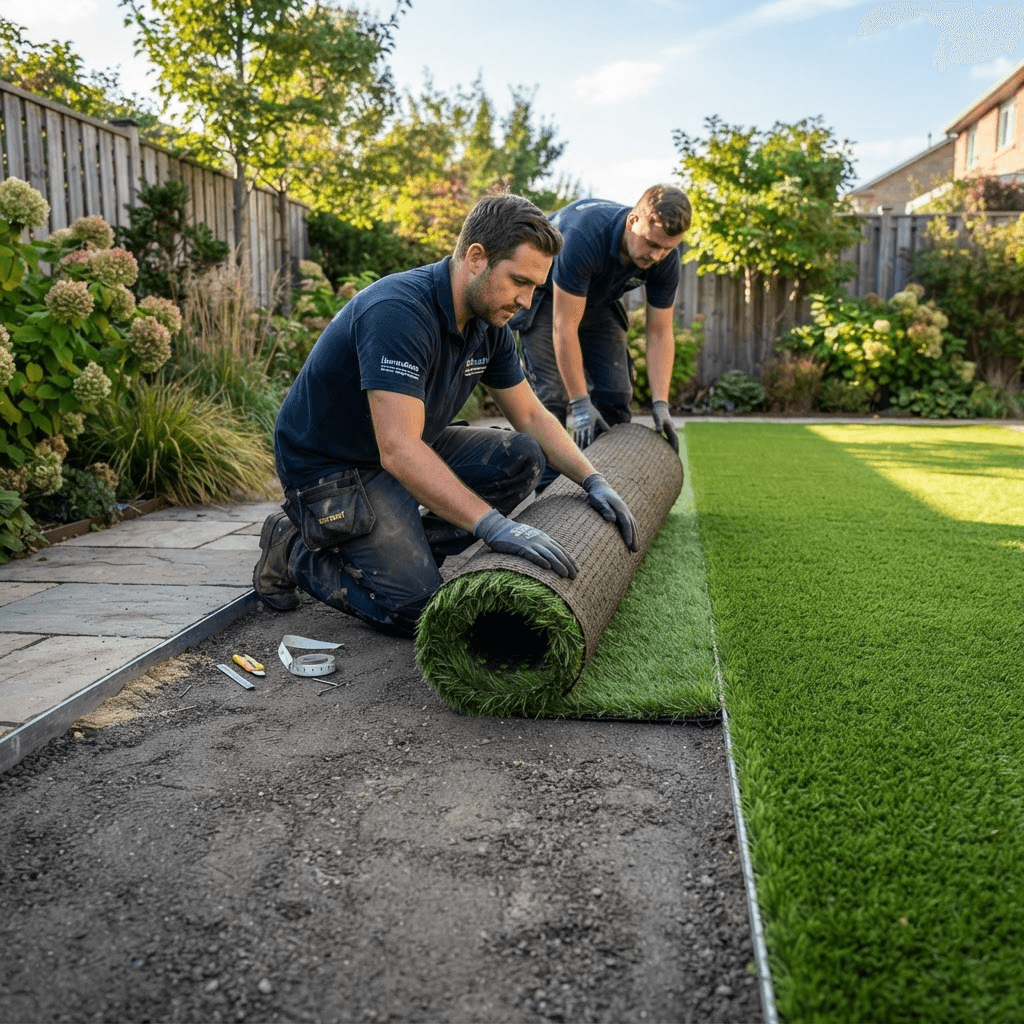
Before laying turf, put down a weed barrier fabric over the compacted base to stop anything from growing up through your new lawn. Then roll out the artificial turf and let it sit in the sun for an hour or two so it relaxes and the wrinkles settle out.
Position it so the blades all lean in the same direction for a uniform look, and if you need multiple pieces, align the grain and butt the seams tightly together, never overlapping.
Secure and Seam the Turf
Now secure and seam the turf. Join separate pieces using seaming tape and outdoor turf adhesive underneath, pressing the edges together so no gap or overlap shows.
Around the perimeter and along seams, fasten the turf to the base with landscape spikes or galvanized nails every few inches, keeping the turf taut and smooth as you nail so it doesn't ripple or pull. Tuck and secure the edges cleanly against any borders, edging, or hardscape.
Finish With Infill
Finish with infill, the material brushed down into the turf between the blades. Spread silica sand or a specialized infill across the surface and work it in with a stiff broom or power brush.
Infill weighs the turf down so it lies flat, helps the blades stand upright, protects the backing, and gives the lawn a more natural feel underfoot. Brush the fibers up against the grain as a final step to make the whole lawn look full and lifelike.
Living With Artificial Turf
Once it's down, artificial turf is about as low-maintenance as landscaping gets: an occasional rinse to keep it clean, a periodic brushing in high-traffic spots, and prompt cleanup of any pet waste. The upfront effort of proper base prep and installation pays off with a lush, green, weed-free lawn that stays that way through every season, with no mower or sprinkler in sight.
Is Artificial Turf Right for Your Yard?
Before installing astroturf, it helps to weigh honestly whether it fits your situation, because it is a significant, semi-permanent investment. Artificial turf shines in spots where real grass struggles: deep shade, high-traffic play areas, pet runs, small courtyards, and drought-prone regions where watering a lawn is costly or restricted. It eliminates mowing, watering, and fertilizing, staying green year-round with minimal effort. The trade-offs are a higher upfront cost, heat retention in direct sun, and a lifespan of roughly fifteen to twenty-five years before replacement. Understanding these realities up front ensures you install it where it genuinely earns its keep.
The upfront number is the sticking point for most people, so our turf and lawn project cost tool is worth a look before you decide against natural grass.
Preparing the Base: The Most Important Step
The single biggest factor in a successful artificial turf installation is the base beneath it, not the turf itself. A proper base begins with excavating three to four inches of existing soil, then installing a compacted sub-base of crushed rock or decomposed granite that provides drainage and a stable, level surface. This layer is graded for a slight slope so water drains away rather than pooling, then compacted firmly with a plate compactor. Skipping or rushing the base leads to lumps, dips, and drainage problems that no amount of careful turf-laying can fix afterward, so patience here pays off for years.
Laying, Seaming, and Securing the Turf
With a solid base in place, the turf itself goes down in a careful sequence. Roll it out and let it acclimate so wrinkles relax, always orienting the blades of every piece in the same direction for a uniform look. Trim edges precisely, and where two pieces meet, join them with seaming tape and adhesive, taking care to align the rows and hide the seam. Secure the perimeter and seams with landscape spikes or nails driven every few inches, keeping the turf taut and flat. Careful seaming and anchoring are what make the finished lawn look continuous and prevent edges from lifting over time.
Infill and the Finishing Touches
The final step, adding infill, is easy to overlook but essential to how the turf looks and performs. Infill, typically silica sand or a specialized granule, is brushed down into the fibers to weight the turf, keep blades standing upright, protect the backing from UV damage, and provide a natural feel underfoot. After spreading infill evenly, a stiff broom or power brush works it down to the base and lifts the fibers for a full, natural appearance. Proper infill prevents matting, extends the turf's life, and is the difference between a lawn that looks real and one that looks flat and fake.
Maintaining Artificial Turf
Though far lower maintenance than real grass, artificial turf is not entirely maintenance-free. Occasional brushing keeps the fibers upright in high-traffic areas, rinsing clears dust and pet waste, and removing leaves and debris prevents staining and weed growth in the infill. In hot climates, a quick spray of water cools the surface on scorching days. With this light upkeep, quality artificial turf stays green and inviting for two decades or more, delivering the tidy look of a manicured lawn without the mowing, watering, and chemicals.
Artificial turf is one of several ways to cover ground with less upkeep, and our yard surface guides compare the alternatives.
Frequently Asked Questions
How do you install artificial turf step by step? Excavate and grade the area, install and compact a crushed-rock base for drainage, roll out and acclimate the turf, seam and secure the pieces with spikes, then brush in infill and power-broom the fibers upright.
What goes under artificial turf? A compacted sub-base of crushed rock or decomposed granite, graded to slope for drainage, sits beneath the turf. This base is the most important part of the installation for a level, long-lasting surface.
Does artificial turf need infill? Yes. Infill, usually silica sand or specialized granules, weights the turf, keeps blades upright, protects the backing from UV, and gives a natural feel. Skipping infill causes matting and shortens the turf's life.
How long does artificial turf last? Quality artificial turf typically lasts fifteen to twenty-five years with light maintenance such as occasional brushing, rinsing, and debris removal. A properly prepared base is key to reaching the upper end of that range.